Tuesday, January 22, 2013

The Start of a Long Journey

We made baby steps toward rehabbing our kitchen this past week.

It's not a terrible kitchen.  It's just kind of ancient and beginning to fall a part.  Also I think it's really, really ugly.  But that's just me.


The cabinets are...30 years old?  Maybe more?  My elderly aunt estimated the Roper wall oven and countertop stove to be at least 45 years old:


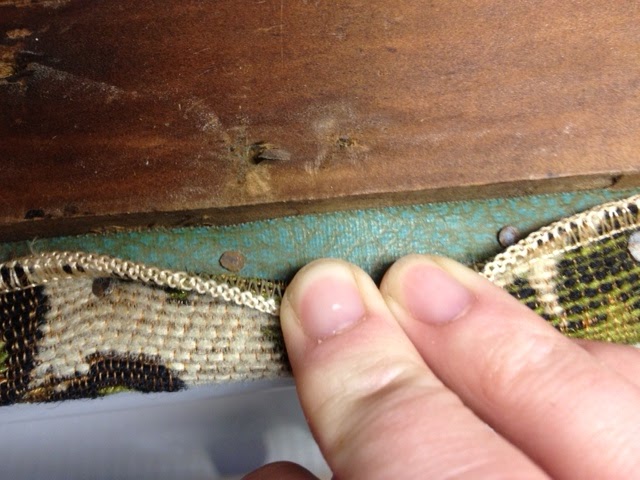
The faux-marble countertops are shedding plywood pieces underneath, and into our silverware drawer, which is not gross AT ALL.

When we closed on our house, my mom and I were going to spend a whole day cleaning the house to prep it for moving in...we never got out of the kitchen.  I'm pretty sure this kitchen had never been cleaned before...the thick layer of grease alone under the hood above the stove was enough to make us want to throw up.  It was so disgusting!

I'm constantly cleaning this kitchen.  It never feels clean, it never looks clean.  Something has to be done!

I went to Pinterest for inspiration:


The Plan:

Base Cabinets from Ikea
Apron Sink from Ikea
Install either butcher block or concrete countertops
Build and install open shelving
White subway tile for backsplash
Paint walls a fair shade of sunny yellow
Install pendant light over sink

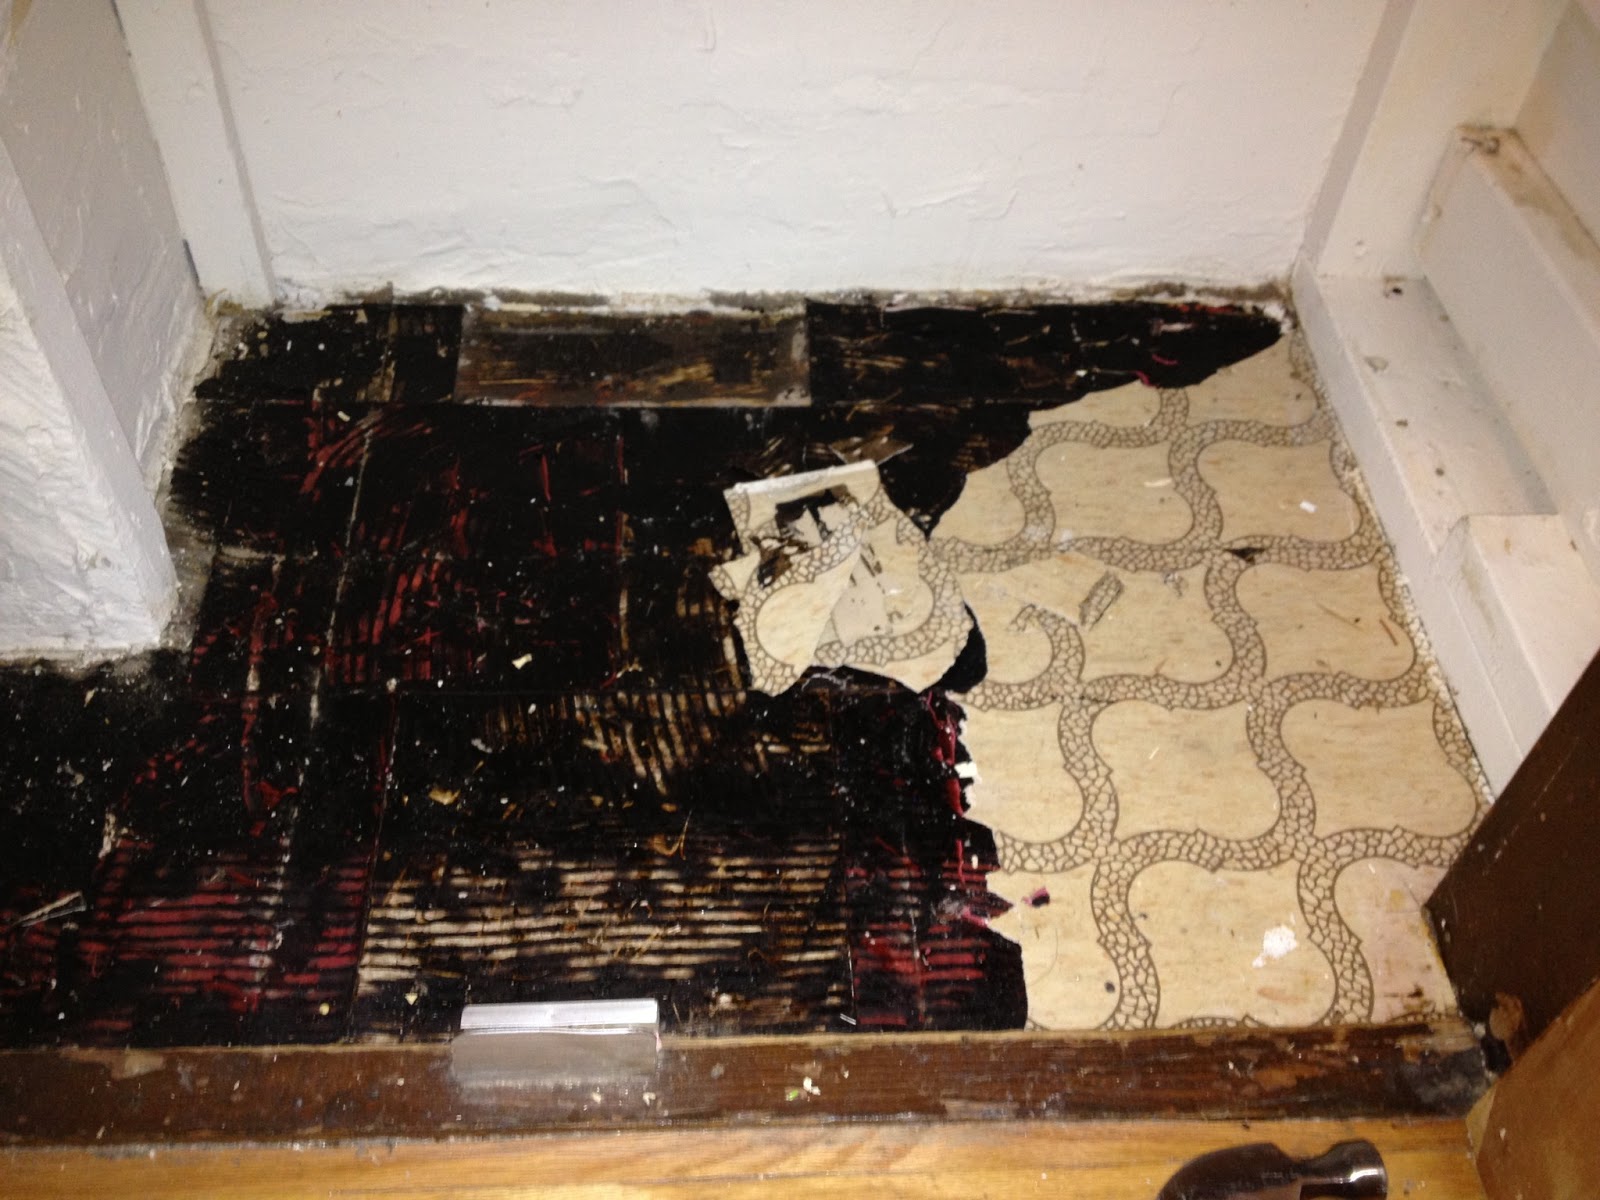
In terms of appliances, we only need to replace the stove/oven; the dishwasher and fridge are white, so we will be getting a white slide-in, probably a used one from Craigslist to save money.  We will also keep our current kitchen faucet until we invest in a new one, long down the road.  Our floors are hardwood and don't need to be replaced; just refinished down the road as well.

Open shelving will mean tearing out the drywall that the wall cabinets currently hang from; this will make the kitchen look a lot bigger.

Ryan already started painting the walls yellow; the two walls that are opposite the cabinets.  I have also already visited Ikea and selected our cabinets, and figured out how many/what size cabinets we will need based on our kitchen's measurements--so I also know the cost and we now have a budget for the entire rehab, which will be about $2200.  Dirt. Cheap.


The Art of Failure

If you are going to fail, fail well.  That's what I thought yesterday.  Did someone famous say that?  I don't know, but it was in my head nonetheless.

This is our first floor bathroom:


 This is how it looked when we first moved in:


Everything in the bathroom is cream-colored except for the vanity/sink, which is bright white.  Why is that?  Why did the previous owners do that?  It's not terrible, it's a perfectly good vanity, but its contrast (or clash) with the rest of the bathroom has been irritating me peripherally since we moved in.

Home Depot had a nice vanity on sale, one that would actually compliment the rest of the bathroom, so we went out and got it.

It was the same exact size as our current vanity, so it would fit perfectly...or so we thought!

First we removed the current sink.  This was an exercise in disassembling plumbing for the first time, and it went okay, no hiccups!


Then it was time to install the new vanity.  I was pretty excited.  The vanity had a cabinet and a drawer, so I'd be able to organize better.  But then:


The plumbing was too low in the wall for the cabinet; the back of the drawer came right up against the piping.  I measured everything before we bought this vanity, but I never considered the rear access for plumbing!


Son of a....

We talked briefly about cutting the back of the vanity to fit.  It just didn't seem worth it.  We packed up the new vanity, reinstalled the old one, and returned the merchandise to Home Depot.

One the up side: we cleaned the floor between the vanity and the tub, a hard to reach spot that had collected quite a lot of dust and grime.  We also decided to keep the new faucet we bought, so at least we have a new faucet!

We are talking about doing this instead: get an old dresser or used vanity off Craigslist and repurpose it for our bathroom.  Although that will be more work, I think it wil be more fun that way.

So, we failed!  And that's okay!  We have a new faucet, some new skillzzz, and a plan.  Onward!

Monday, January 14, 2013

Weekend Project: Refinish a Chair

About nine months ago (?) I bought this chair at one of those little antique shops where everything is piled on top of each other and you have to practically bring mountain climbing equipment with you into the store to make your way through:


Luckily, this chair was just to the left of the store's door when I walked in.  I had been keeping my eyes peeled for some time for a chair I could use in the craft room, at my sewing desk.  It was only $10.  Score!

A little back story: The desk has been in my family for more than 35 years.  It's a little plywood desk, and by the time we moved into our house, it was in desperate need of some love.  The desk has a lot of sentimental value for me, I took it with me when I moved out of the parent's house nearly thirteen years ago and I couldn't imagine ever giving it up.

I decided to give it a whole new life.  I followed this tutorial on Young House Love, and a week later my desk went from this:


To this:


As on YHL, I lightly sanded the desk, applied primer, then put on several light coats of white (I used semi-gloss by Behr) paint until I was satisfied with the color, and then I applied a light coat of Poly.  I removed the hardware (prior to painting the desk, of course) and spray-painted it with Rust-Oleum oil-rubbed bronze.  It's a whole new desk.  And it needed a new chair.

I followed the same steps with the chair: sand, prime, paint, paint, paint, poly.  Meanwhile, I removed the seat and prepared to reupholster it.  This was the fun part.

This was the seat before:


Eeeew.  I removed the fabric, and lo and behold, there was a whole other layer of upholstery underneath!  And it was gorgeous!


Although I loved the texture and aesthetic of this fabric, it wasn't what I had in mind for the chair.  I decided not to remove it, because it's a good fabric and why not?  I wonder how old this chair is, because there was a THIRD layer of upholstery underneath:


It was like a form of leather.  So perhaps this will be the chair's fourth transformation?

I wanted to give the seat a little extra cushion, so I bought some cheap polyester quilt batting from Jo-Ann Fabrics (it was 50% off so I paid $5!), and put two layers of it between the seat and the new fabric.

I used left over upholstery fabric from a previous project, and then went to work with a staple gun.

I secured the finished seat on the newly-refinished chair with new screws, and voila:


Now I have a bright, cheerful, cushy new chair for my sewing desk.  With the exception of the quilt batting, I used all materials I already had on hand, so this project only cost me $15.  Can I get a high five?!

How I spent my Christmas Vacation

I decided, as a new year began, that I needed to start documenting our home projects.  I love improving things in my home, and because we don't have very much money, it forces a gal to think creatively about how to go about it in a budget-friendly way.

We have lived in our house for over a year now (since October 2011), and there is a lot I have done in that past year.  I may from time to time revisit those projects, just to, you know, show off.  I'm proud of what I have accomplished, I'm not afraid to say it!

So:  How I spent my Christmas vacation.  I hosted Christmas Eve and Christmas Day, but let's talk about really getting hands dirty.  I took on a pretty small project, but I'm really happy with the outcome.

Caveat: I took all these photos with my iPhone, and I am sad to say they didn't turn out all that great.  I apologize for the blurriness!

The project: sprucing up the linen closet!  I was inspired by this blog post, which I came across via Pinterest.

Before--MEH.


First of all, the shelves were wallpapered.  Wallpaper is evil.  I peeled a bunch of it off when we first moved in, but I never finished removing it all, so it looked pretty sad on those shelves.  It took me a few hours, some hot water, vinegar and a putty knife along with my electric sander to clear the rest.  Why, whyeeeee did anyone ever think wallpapering shelves is a good idea?


What a mess.

After I removed the wallpaper and sanded down the shelves to prep for painting, I removed the shelves, which was also a process all unto its own for they were made piece-meal to fit the closet.  Because I am operating on a very low budget, I had every intention to reuse these shelves rather than build new ones.  They just needed a little love is all.

Here are the shelves in our basement workroom after being primed for paint:


 See?  They are just a little janky.  But don't judge.

Next up, the linoleum tile on the floor of the closet really needed to be replaced:


 Ick.  Just blech.

Even more gross?  Pulling it up!


There was a disgusting black tar-type adhesive underneath.  In hindsight, I should have just scoured the floor really well, and laid the new self-adhesive vinyl tile over it.  But whatever, right?  It's a linen closet.  It's not like this floor will be walked on everyday.  I bought self-adhesive vinyl tile from Home Depot for 99 cents each.  I bought 6, in case I made any mistakes, and finished with scraps of tile and one whole square left.

$6 is all I have spent so far on this project, by the by.  I'm using all materials I already had on hand, which is pretty rad.

I painted the closet with a coat of semi-gloss in the same color I used in the bathroom across the hall.  There was plenty left over for this project:


Then, I stenciled.  I bought a lovely stencil from this shop on Etsy.  It cost me $12.25 with shipping.  Total spent so far, $18.25.  Not bad!

In progress:


 And finished:


 I retiled the floor:


 I wasn't too particular with finishing the paint job well by the floor, because this area will have a shelf over it and the likelihood that it will ever be noticed is so small, I figured, why worry about it? It's okay to cut corners sometimes.  It's a CLOSET.

I wasn't wild about the faux marble, but it doesn't look bad, and I wanted something that would compliment the paint and stencil well.  This was the closest fit.

I put the shelves back in, and voila!


And reorganized:


Total cost: $18.25.  And now I have a nice, new, modern linen closet.  Hurrah!